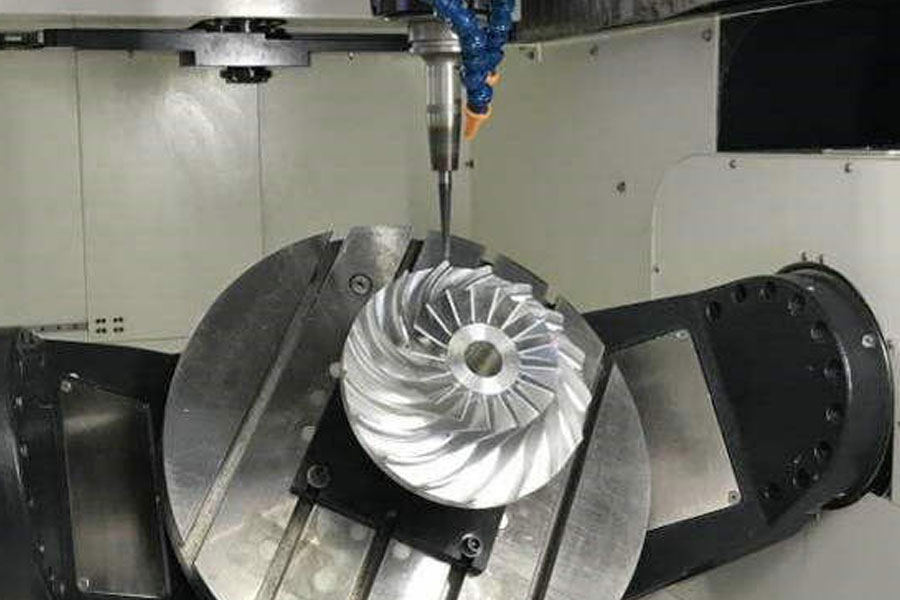
The acceptance and precision inspection work of CNC machining center is mainly to determine the technical indicators on the certificate based on the acceptance conditions specified on the manufacturer’s factory certificate and the actual detection methods provided by the user. For imported equipment, the import commercial agent and customs inspection personnel must also participate. The acceptance version can be divided into several links: unpacking inspection, appearance inspection, machine tool performance and CNC function verification, precision inspection and so on.
The inspection of the box is mainly to check and accept the items one by one according to the packing list. If any missing parts or model specifications are found to be inconsistent, they should be recorded and promptly contact the supplier and other departments. The appearance inspection mainly depends on the appearance paint quality, whether the equipment has obvious defects that can be seen by the inner eye such as collision damage, deformation, moisture and rust.
Accuracy testing is generally the last item in the installation and commissioning of machine tools. Its reference standard is YB 2670-82 “General Rules for Precision Testing of Metal Cutting Machine Tools”, Ig /) / R 230-1961d General Guidelines for Machine Tool Testing or JB / T 8771-1998 “Machining Center Inspection Conditions”, etc., the ordinary vertical processing careful fine skin inspection can be divided into three items: geometric accuracy inspection, positioning accuracy inspection and cutting dryness inspection.
/ (1 /) plus 1: Inspection of the geometric accuracy of the center. It comprehensively reflects the geometrical errors of the key parts of the machine tool and the co-assembly plant. The method and content of the common gun inspection are similar to those of the ordinary machine tool. The requirements of the inspection side are higher. Generally, the inspection is carried out item by item according to the geometric sharpness of the machine.
The contents of the common expansion and the geometric accuracy of the center are mainly as follows.
- ①The flatness of the work surface.
- ② The perpendicularity of each coordinate axis movement.
- ③ The parallelism of the work surface when the X and Y coordinate axes move.
- ④ The parallelism of the side of the T-shaped groove of the N table in the xA4 axis direction.
- ⑤The axial movement of the main shaft.
- ⑧ The main shaft is bound to jump towards the chimney.
- ⑦ Parallelism of the spindle axis when the spindle box moves in the direction of the Z coordinate axis.
- ⑧The Feng axis asks the perpendicularity of the axis of the rotating shaft to the work surface.
- ⑨The spindle tip moves in the direction of the Z coordinate axis and is linear.
It can be seen from the uf description of 9 precision requirements that the first class of precision requirements is for the linearity, parallelism and verticality of the movements of the machine tools such as the bed, the column, the slide wrench and the axle box Requirements; The second category is the requirements for the spindle rotation accuracy and linear motion accuracy / (cutting in the cutting motion /) of the cutting motion. Therefore, these geometric precisions comprehensively reflect the accuracy of Ding Jixiu’s mechanical coordinate system and the geometric accuracy of the spindle representing the cutting motion in the mechanical coordinate system. The geometric accuracy requirements of the Ding Zuo table and the T-slot on the table relative to the mechanical coordinate system reflect the geometric relationship between the D-piece and the machine coordinate system in the machining center, because the table orientation and positioning are difficult It is the positioning of the workpiece or the positioning of the D-piece stationery. The D-piece coordinate system for processing the workpiece is often based on this.
The static accuracy of the machine tool directly affects the quality of the machined parts, so it must meet the requirements as an instrument for accuracy maintenance.
