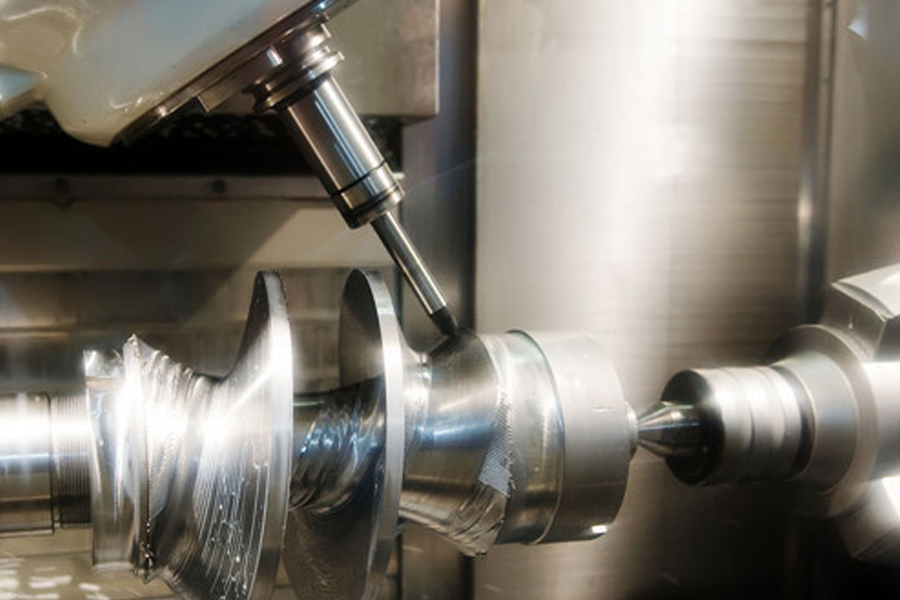
1. Poor machining accuracy of parts
Generally, it is because the feed dynamics between the axes are not adjusted according to the error during installation and adjustment, or the drive chain of each axis of the machine tool has changed due to wear and tear (such as screw clearance, pitch error change, axial movement, etc.) ). It can be solved by readjusting and modifying the gap compensation amount. When the dynamic tracking error is too large and alarms, you can check: whether the servo motor speed is too high; whether the position detection element is good; whether the position feedback cable connector is in good contact; whether the corresponding analog output latch and gain potentiometer are good; Whether the corresponding servo drive is normal.
2. Overshoot caused by machine tool movement caused poor machining accuracy
It may be that the acceleration and deceleration time is too short, and the speed change time can be appropriately extended; or the connection between the servo motor and the screw is loose or the rigidity is too poor, and the gain of the position loop can be appropriately reduced.
3.The roundness of the two-axis linkage is out of tolerance
1. Axial deformation of a circle
This deformation may be caused by mechanical adjustment. If the positioning accuracy of the shaft is not good, or the clearance compensation of the screw is improper, it will cause a roundness error when the quadrant is exceeded.
2. Oblique ellipse error (ellipse in the direction of 45 degrees)
At this time, the position deviation value of each axis should be checked first. If the deviation is too large, you can adjust the position loop gain to eliminate. Then check whether the interface board of the rotary drive or the induction synchronizer is adjusted well, and then check whether the clearance of the mechanical transmission pair is too large and whether the clearance compensation is appropriate.
